Keeping your shoes’ sole edges neat and polished is one of those small details that makes a big difference. A clean edge instantly elevates your shoes, giving them that crisp, well-cared-for look that true shoe enthusiasts appreciate.
In this complete guide, I’ll show you how to use the Sole Edge Iron — a clever tool that refreshes worn edges and brings them back to life in just minutes.
We’ll look at two different demonstrations, from a quick overview to a full step-by-step tutorial filmed in New York City by Arterton Presents.
Video 1: Quick Overview – How to Fix Your Sole Edge
This short video offers a fast, simple walkthrough for anyone looking to tidy up their shoes’ sole edges at home.
Video 2: Full Tutorial – Using the Paul Brunngard Sole Edge Iron
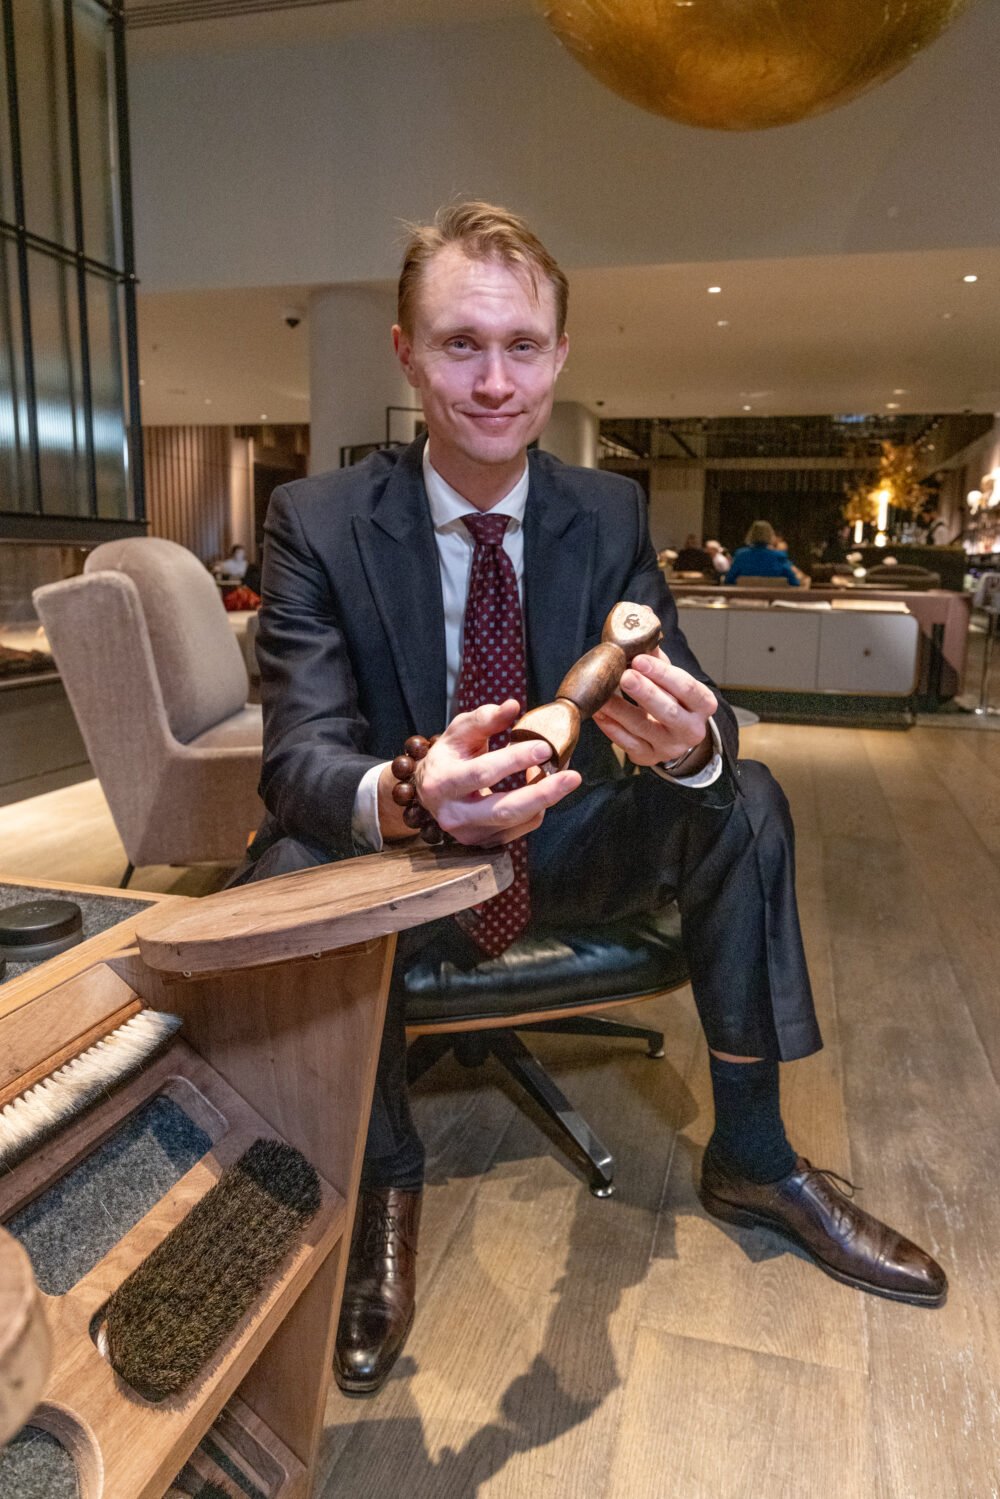
In this extended video, filmed at the Charles Paige Atelier in New York City, I use the Paul Brunngard Sole Edge Iron to show a professional-grade treatment and explain how the tool works in detail.
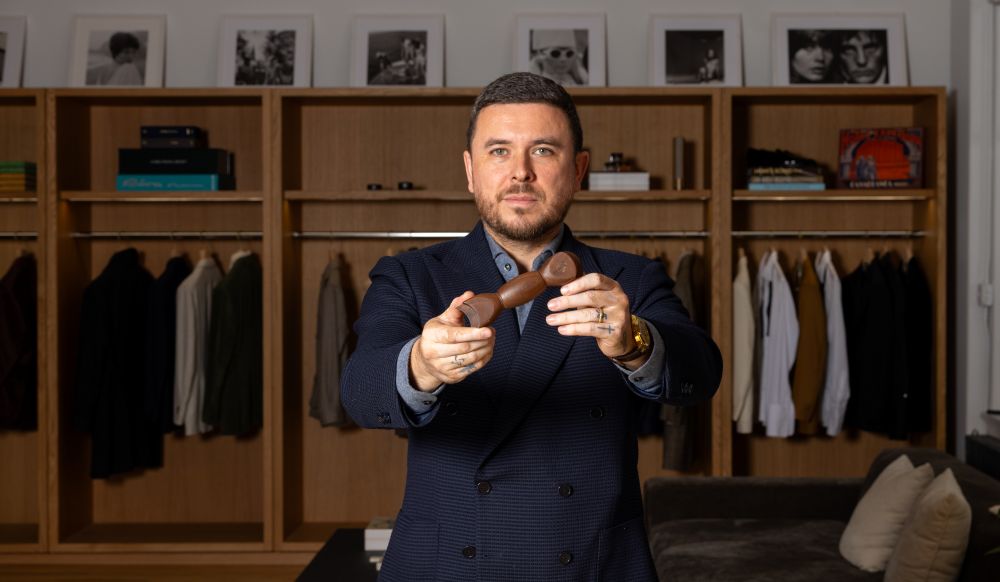
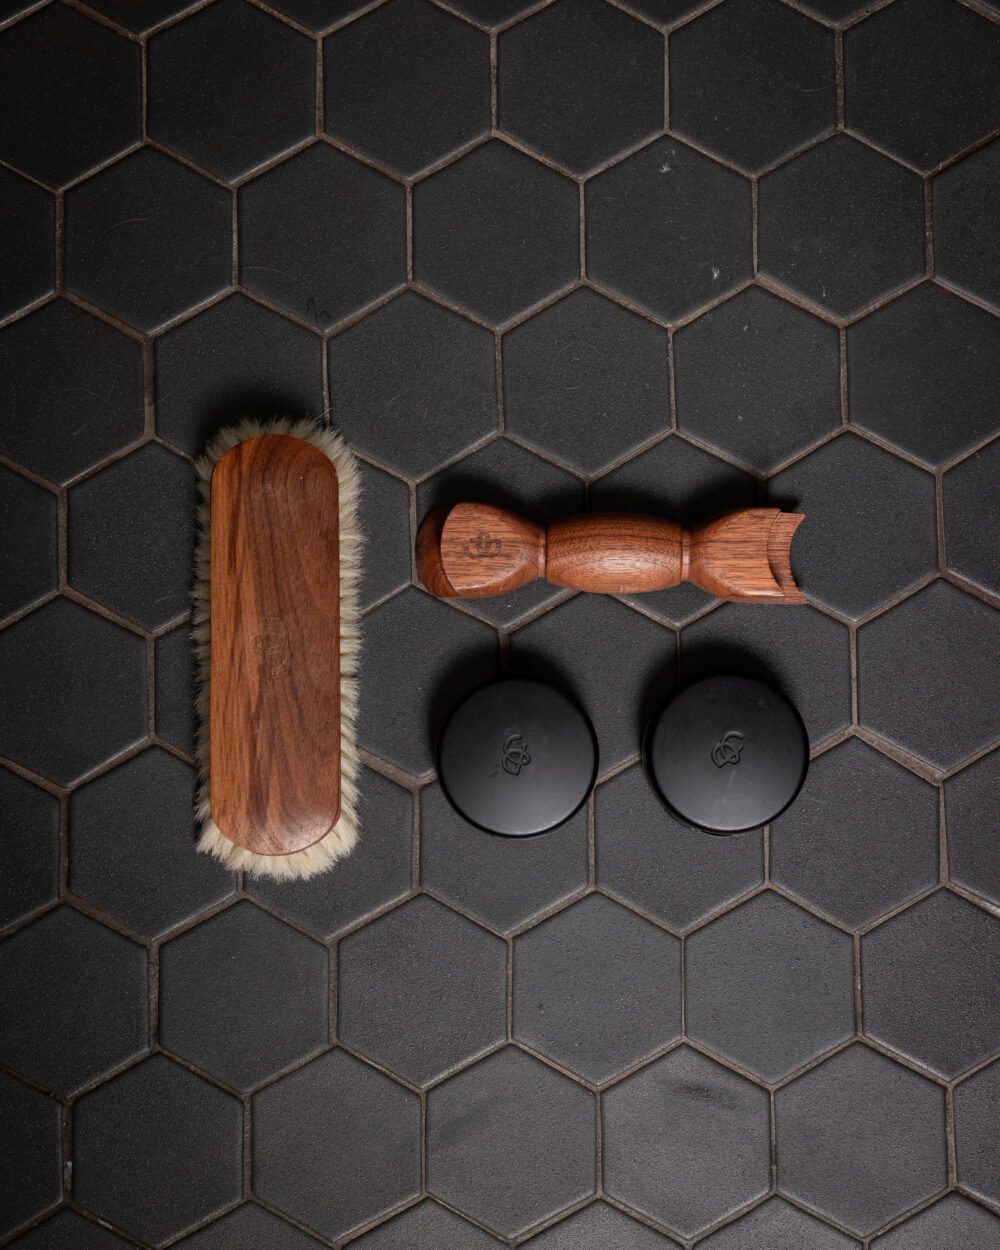
What Is a Sole Edge Iron?
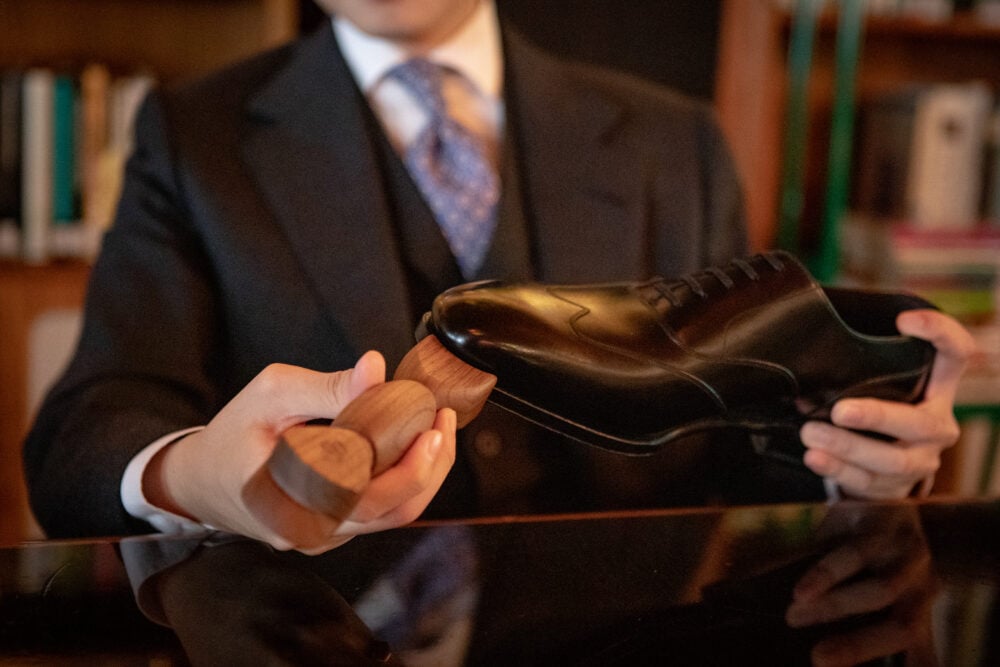
A sole edge iron is a wooden finishing tool designed to smooth and refinish the edges of leather soles. Over time, walking on concrete and daily wear can roughen those edges, making shoes look neglected.
The iron, typically made of hardwood like walnut, uses gentle pressure and heat friction to compress the leather’s surface, restoring a clean, sealed look.
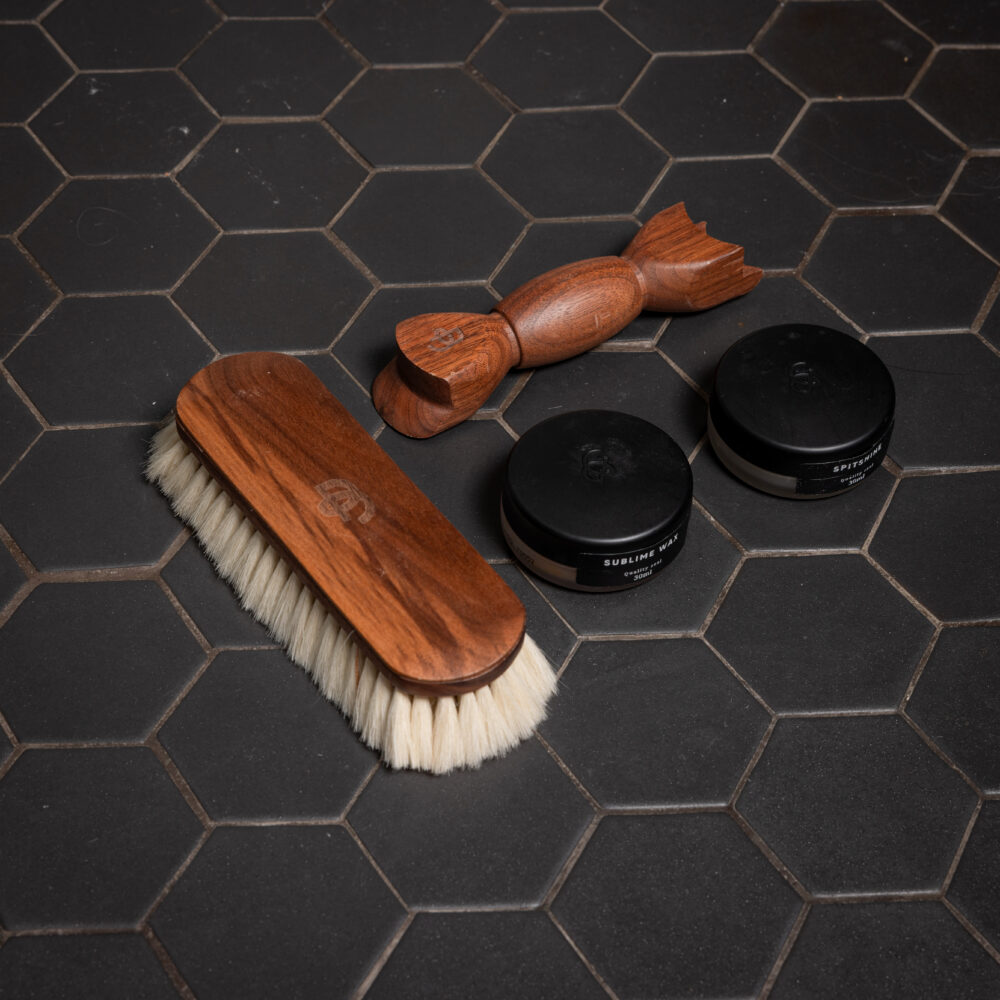
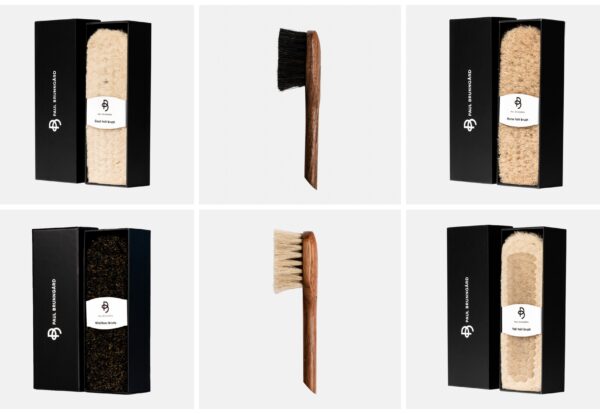
What You’ll Need
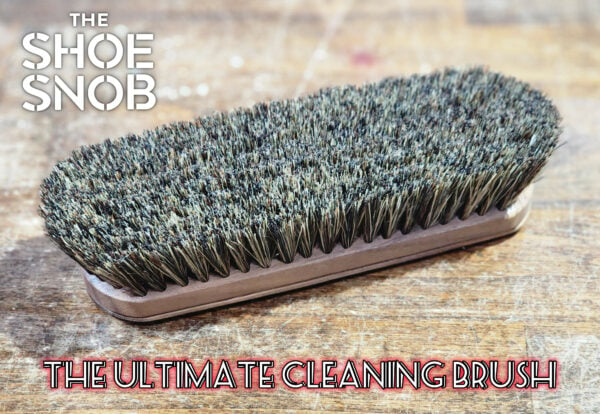
- Shoe brush (horsehair preferred – something with stiffer bristles for sole cleaning)
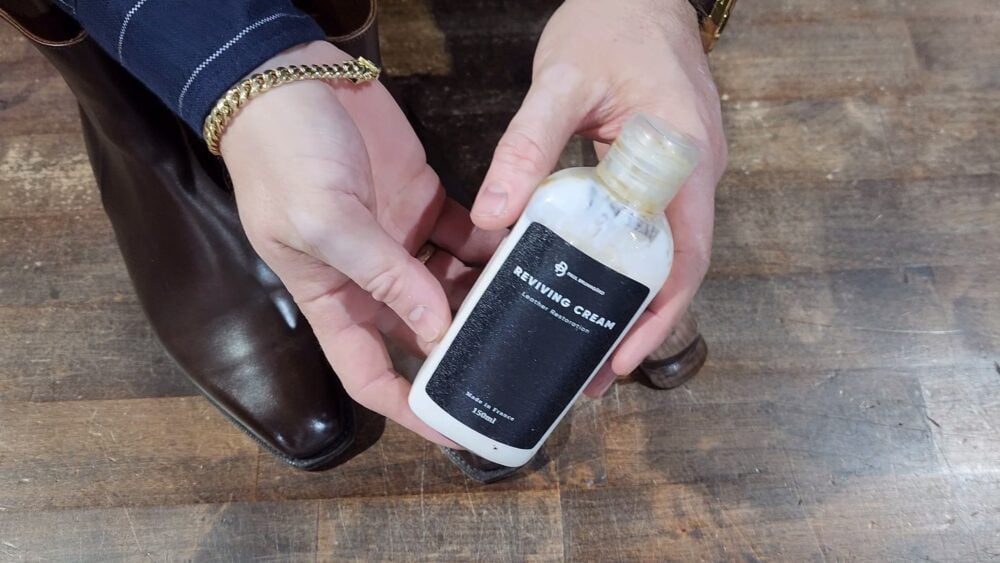
- Reviving Cream (such as Paul Brunngard’s)
- Sole Edge Iron – with both convex and concave sides
- Clean cloth or old T-shirt for wiping excess product

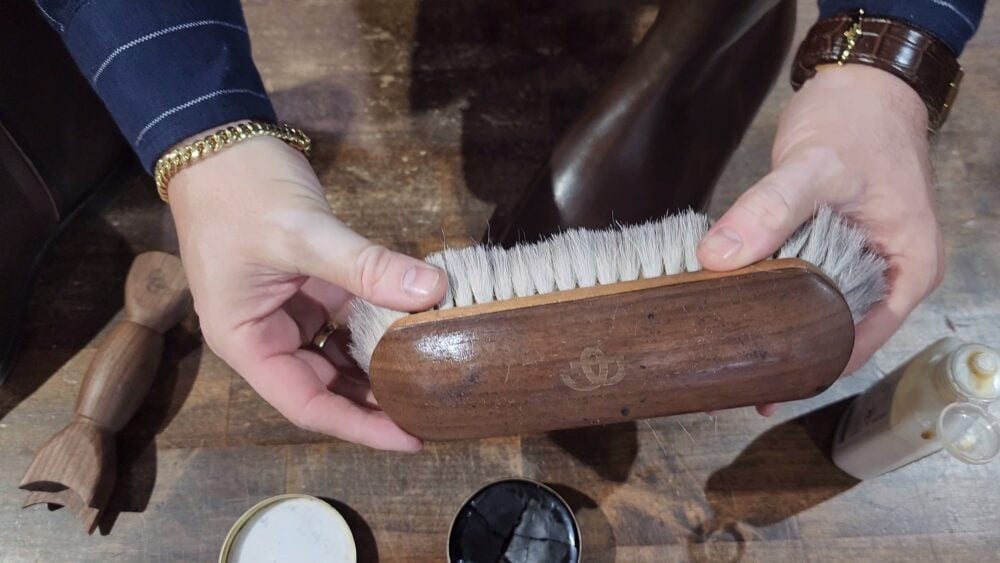
Step 1: Clean the Sole Edges
Before applying any product, give your soles a quick brush to remove dust and dirt.
This ensures the cream and iron will make contact with the leather rather than trapping debris.
A clean surface means a smoother finish.
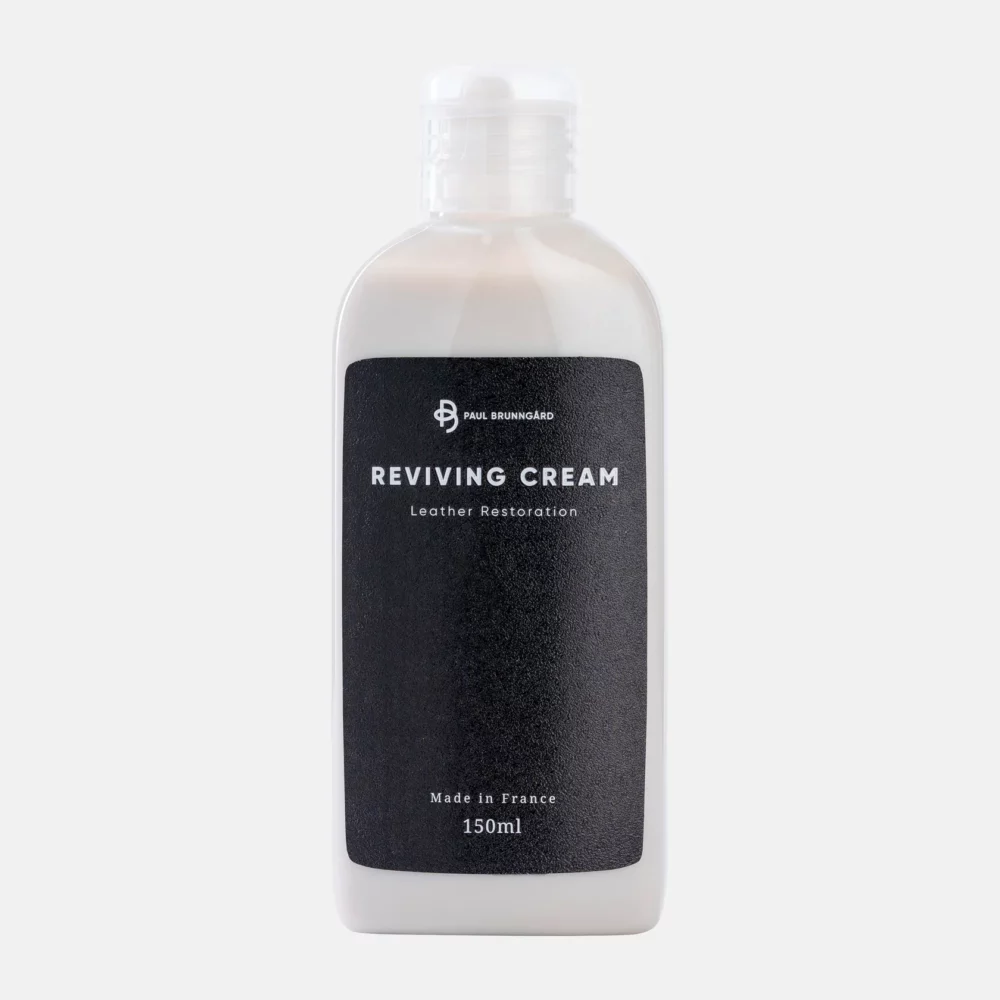
Step 2: Apply Leather Conditioner
Apply a small amount of leather conditioner (I use reviving cream in the videos) along the sole edges — including a light coat on the heel if you wish.
Massage it in gently with your fingers or a soft cloth. This softens and nourishes the leather, preparing it for compression from the iron.
💡 Tip: Less is more. Good creams go a long way and will evenly rehydrate the edge without excess buildup.

Never Miss An Article
Discover first all of the latest happenings in the shoe industry, including new model launches, new shop openings, and seasonal sales from your favorite brands.
Step 3: Understand the Two Sides of the Sole Edge Iron
Your sole edge iron has two sides — each with a purpose:
- Convex Side (curves outward): Used for the sides of the sole.
- Concave Side (curves inward): Used for the toe section.
The concave side fits the natural curvature at the front of your shoe, helping you create a clean, rounded transition, while the convex side handles the straight edges along the body.
Step 4: Work the Edges
- Start on the side of the shoe using the convex edge. Apply firm but fluid pressure, running the tool along the edge in smooth strokes.
- Repeat this motion a few times until you see the leather’s surface tighten and take on a polished appearance.
- Switch to the concave side for the toe. Use short, controlled motions to round out the area evenly.
- Repeat the process on the inner side of the shoe with the convex edge.
⚠️ If your shoes have metal toe taps, skip the toe section — the wood can scratch against metal and become damaged.
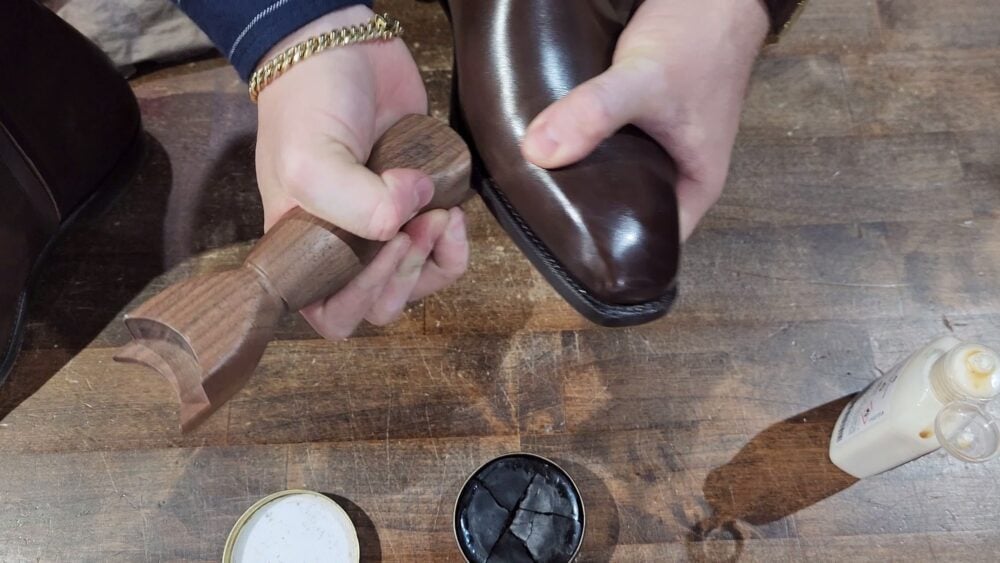
Step 5: Apply Polish – Wax or Cream
After you have used the sole edge iron, you will want to give some color back and just tidy up the whole region. You can either apply some cream polish for shine or some cream polish for color rejuvenation and light shine.
Let it dry and then buff up with your Goat brush.
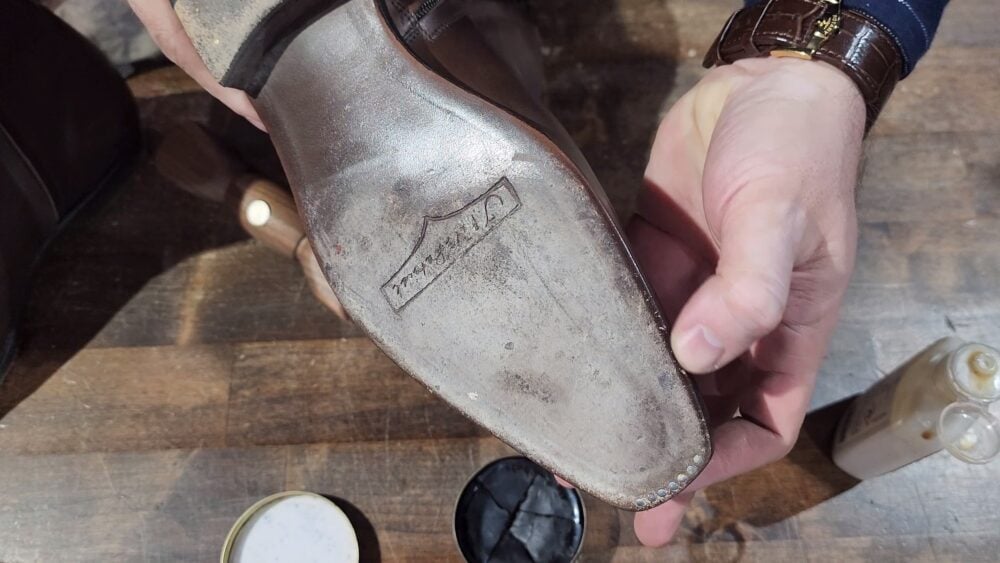
Step 6: Inspect and Finish
Once both sides are treated, wipe away any excess product and admire your work.
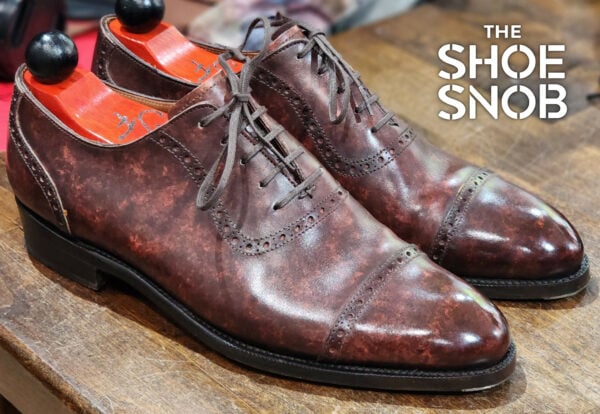
Even older shoes will immediately look refreshed. The sole edges appear darker, smoother, and more defined, restoring that polished “new shoe” profile.

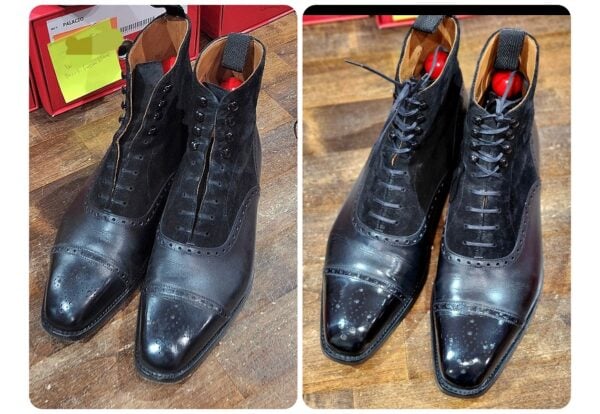
Before & After Results
With just a few minutes of effort, your shoes’ edges will go from dull and uneven to sharp and professional. It’s a subtle touch, but one that speaks volumes about attention to detail.
Common Mistakes to Avoid
- Using too much product: This leaves residue that attracts dirt.
- Skipping cleaning: Dirt and grit will scratch rather than polish.
- Using excessive force: Smooth, moderate pressure works better than aggressive strokes.
- Ironing over metal toe taps: Always skip those areas.
Final Thoughts
The sole edge iron is a simple but transformative tool in shoe maintenance. Whether you’re restoring a pair of well-worn Oxfords or just keeping your loafers sharp, five minutes with the right technique can make a world of difference.
Thanks again to Arton London for this exceptional tool and video production, and to Charles Pagé Atelier in New York for hosting this demonstration.
With good tools and consistent care, your shoes will always look their best — top to bottom.
How to use the sole edge iron is quickly learned and a process that will keep your shoes/boots looking good throughout their lifespan!
You can find this tool in two places:
- At Arterton London (UK): https://arterton.co.uk/
- At The Shoe Snob Shop (US): https://www.theshoesnob.com/
—Justin FitzPatrick, The Shoe Snob
Shop · Marketplace · J.FitzPatrick · Patreon


That’s ridiculously simple and effective! What I really needed… Many thanks for the information.
Did I mention my wife is rolling her eyes?
ahahaha, tell her it’s cheaper than new shoes 😉
This should really be considered for general leather soled shoe care. Simply polishing leather soles makes a huge difference; this brings it to another level. For those of us that care.
indeed my friend
You look good in that DB. I’m amazed how you guys wear leather soles without wearing them down quick!
Thanks Peter!