
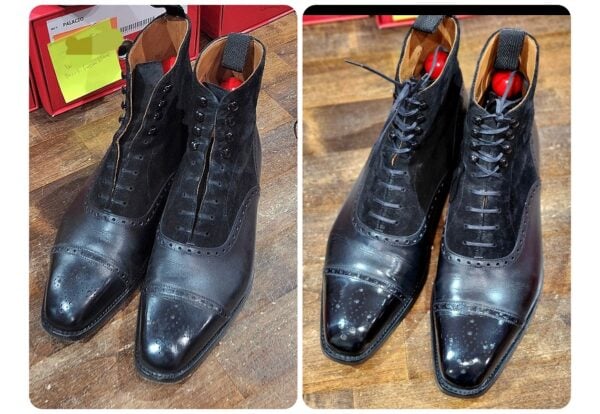
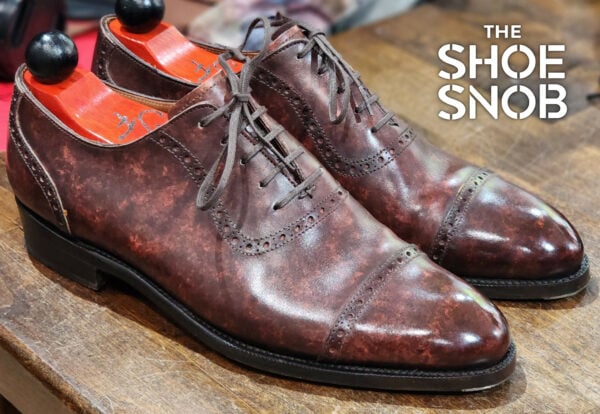
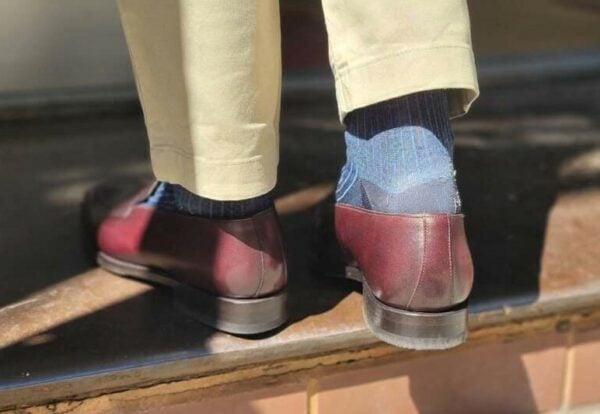
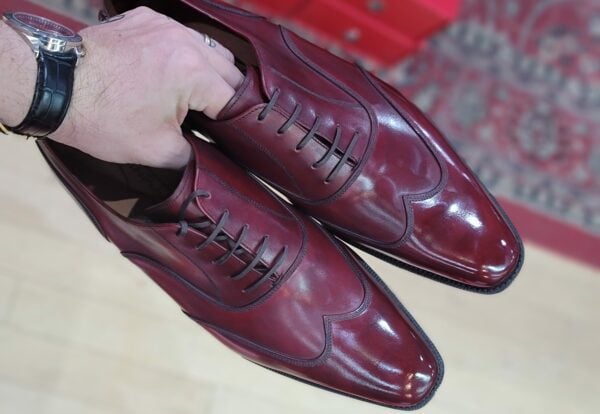
If your mirror shine looks cracked or patchy—don’t panic. Here’s how to fix your shoe shine on dark calfskin in minutes: even out the wax (melting it into the leather), rebuild the base, and finish it clean.
Important: This method is for darker leathers only. Do not use heat on light/tan calf, exotics, or lighter museum/patina calf with pronounced marbling.
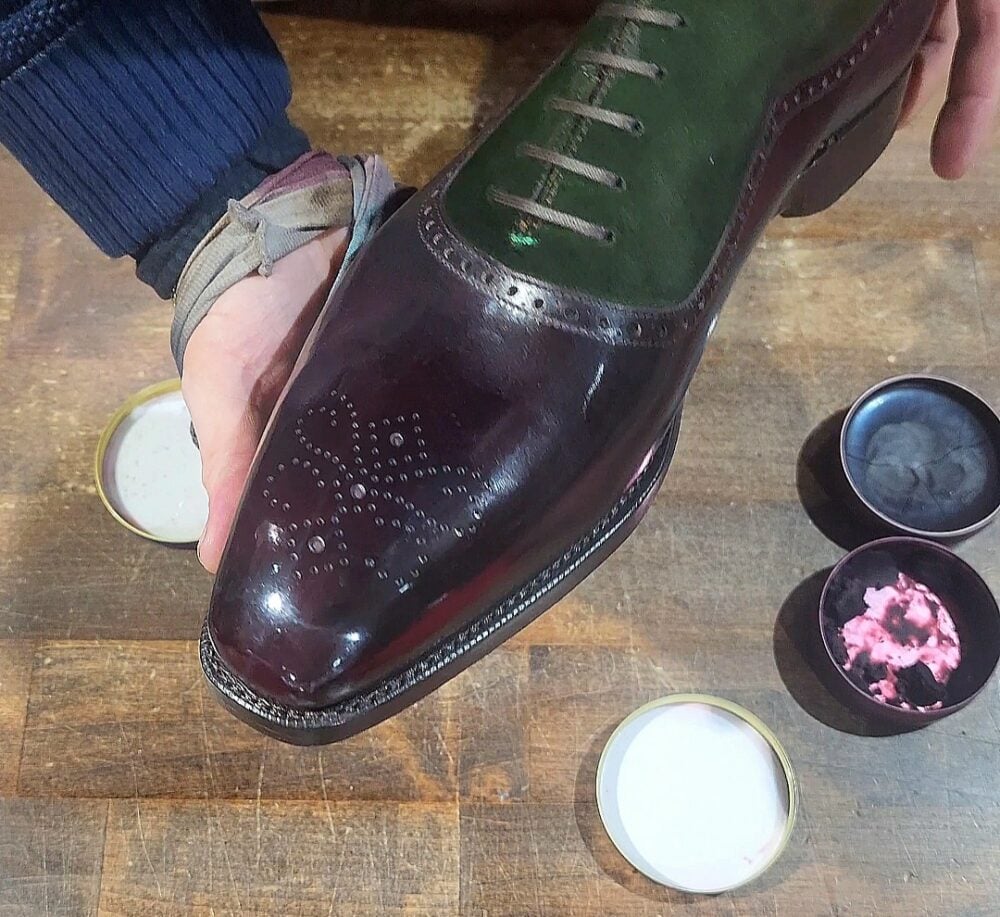
What you’ll need to fix your shoe shine
- Heat gun on low (or hair dryer on warm/low)
- Two wax polishes: older/dry wax + fresh wax (same color as shoe)
- Tin of water (the lid of wax works great) + cotton cloth (t-shirt cotton works)
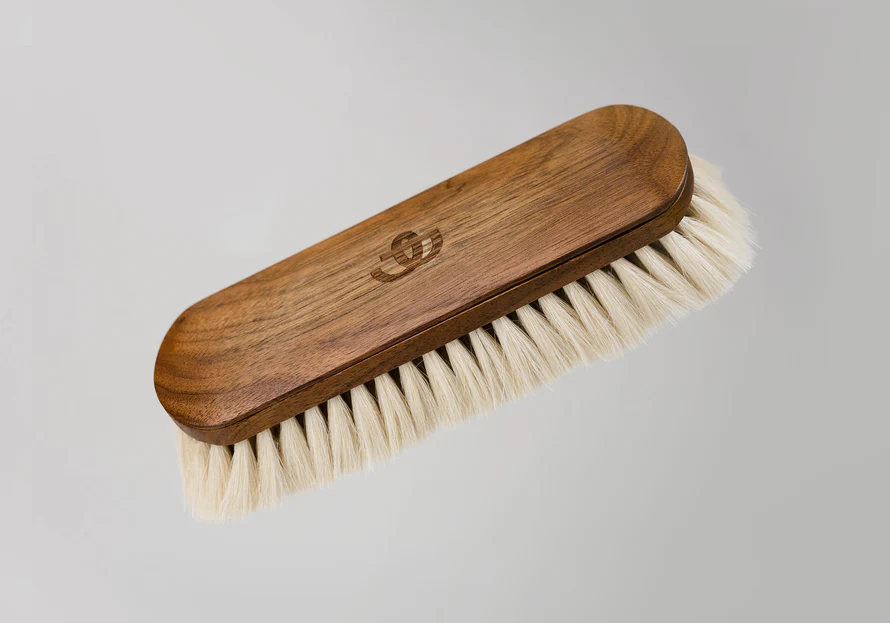
- Soft brush: Goat, Yak, or Horse. Goat is ideal. Learn more here.
- Optional: soft microfiber for final buff (also pantyhose work wonders)
👉Watch the video tutorial on how to fix your shoe shine below:
Table of contents
- What you’ll need to fix your shoe shine
- Step 1 — Lightly reflow the wax (10–20 seconds per area)
- Step 2 — Rebuild the base with dry wax (no water)
- Step 3 — Level and gloss with fresh wax + micro-water
- Step 4 — Finish & Set the Mirror Shine
- Troubleshooting (quick fixes)
- When not to use this method
- Products I typically use
- Conclusion
Step 1 — Lightly reflow the wax (10–20 seconds per area)
Hold the heat source 8–12 in (20–30 cm) away. Sweep back and forth; you’re softening the wax, not cooking the leather. As the wax liquefies, brush immediately to push it into the pores and level micro-cracks.
Pro Tip: Work in small zones (toe cap/quarter). If the surface looks wet, you’ve done enough—move on and brush.
Step 2 — Rebuild the base with dry wax (no water)
Using your older, drier wax, apply thin circles with light pressure. Aim for 2–4 coats without water. Dry wax grips and fills micro-texture, giving you a flatter foundation.
Signs you’re ready for Step 3: surface is matte-even, pores look “filled,” no visible hairline cracking.
Step 3 — Level and gloss with fresh wax + micro-water
Switch to fresh wax. Dab your finger in the water, then tap off—you want micro-droplets, not a pool of water. Build 2–4 ultra-thin layers, and work in with fast, small circles. The water helps the wax flow and self-level.
Avoid: Over-wetting (cloudiness) and heavy pressure (breaks the layers).
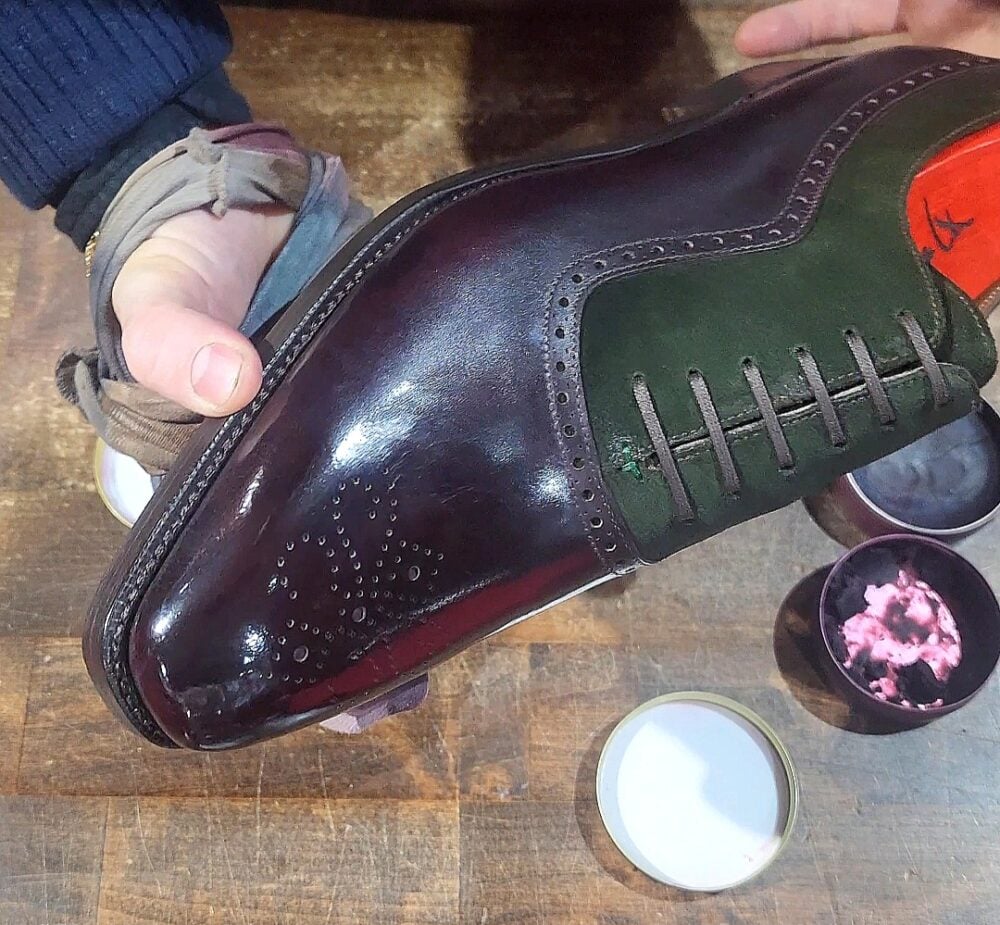
Step 4 — Finish & Set the Mirror Shine
Very light final pass with 1-2 small droplets to fuse the top layer. Never brush at this point. It will ruin the shine. You can use pantyhose to ‘clean up the residue’. Stop when the surface is even—more layers ≠ better if the pores are already flat.
Troubleshooting (quick fixes)
- Cloudy/hazy finish: Too much water → rest 5-10 mins, brush, one thin fresh-wax layer, finish with micro-water only.
- New hairline cracks: Layers too thick or too dry → brief low heat, brush, one thin fresh layer of wax.
- Pores still visible: Add one more dry-wax coat before going back to fresh wax.
- Sticky surface: You heated too close/too long → let cool fully, brush, resume with very thin layers.
When not to use this method
- Light/tan calf (risk of darkening permanently)
- Nubuck/suede, exotics, shell cordovan
- Any leather with loose grain or heat sensitivity
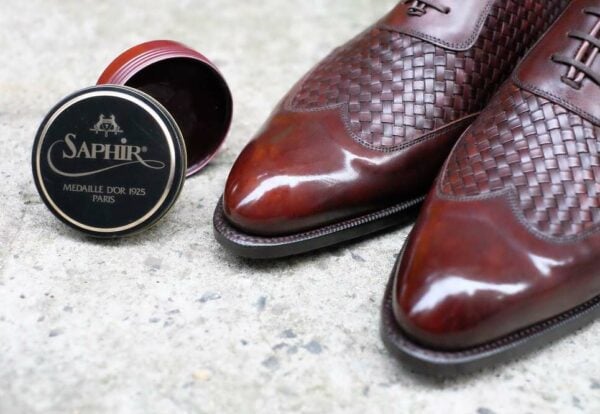
Products I typically use
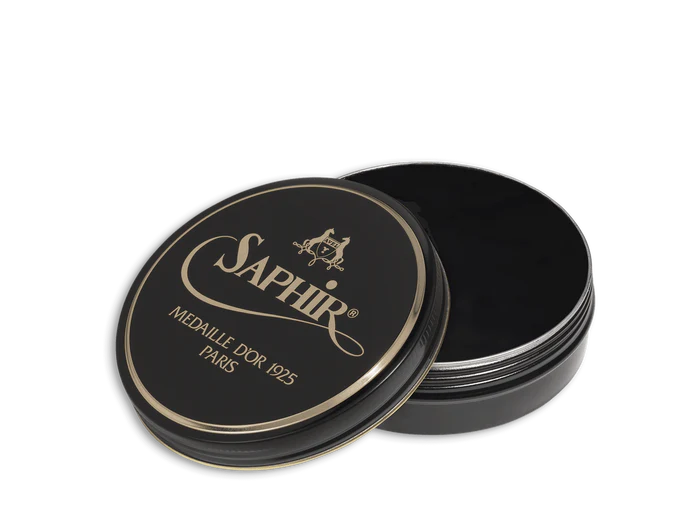
- Wax polish (same color as upper) by Saphir — older tin + fresh tin
- Goat brush by Paul Brunngard
- Soft cotton cloth(s) – old t-shirts I cut up
- Low-heat gun or hair dryer — bought on Amazon
Conclusion
A cracked shine is common. How to fix your shoe shine is simply a learned process of shoe maintenance. Reflow, rebuild, finish. With thin layers and micro-water, you’ll restore that glass-like surface in 5–10 minutes. You keep doing it more and more, and it will quickly become second nature.
—Justin FitzPatrick, The Shoe Snob
Shop · Marketplace · Patreon


Is there an advantage to using a brush as opposed to a cotton cloth when polishing shoes
One should use both. Brushes do not shine the shoe. They help apply cream (applicator brush) and even out the polish (shine brush). But building a proper shine is done with cloth